Steps of Adventure Travel Photography Insanity
Written September 2019, updated October 2024
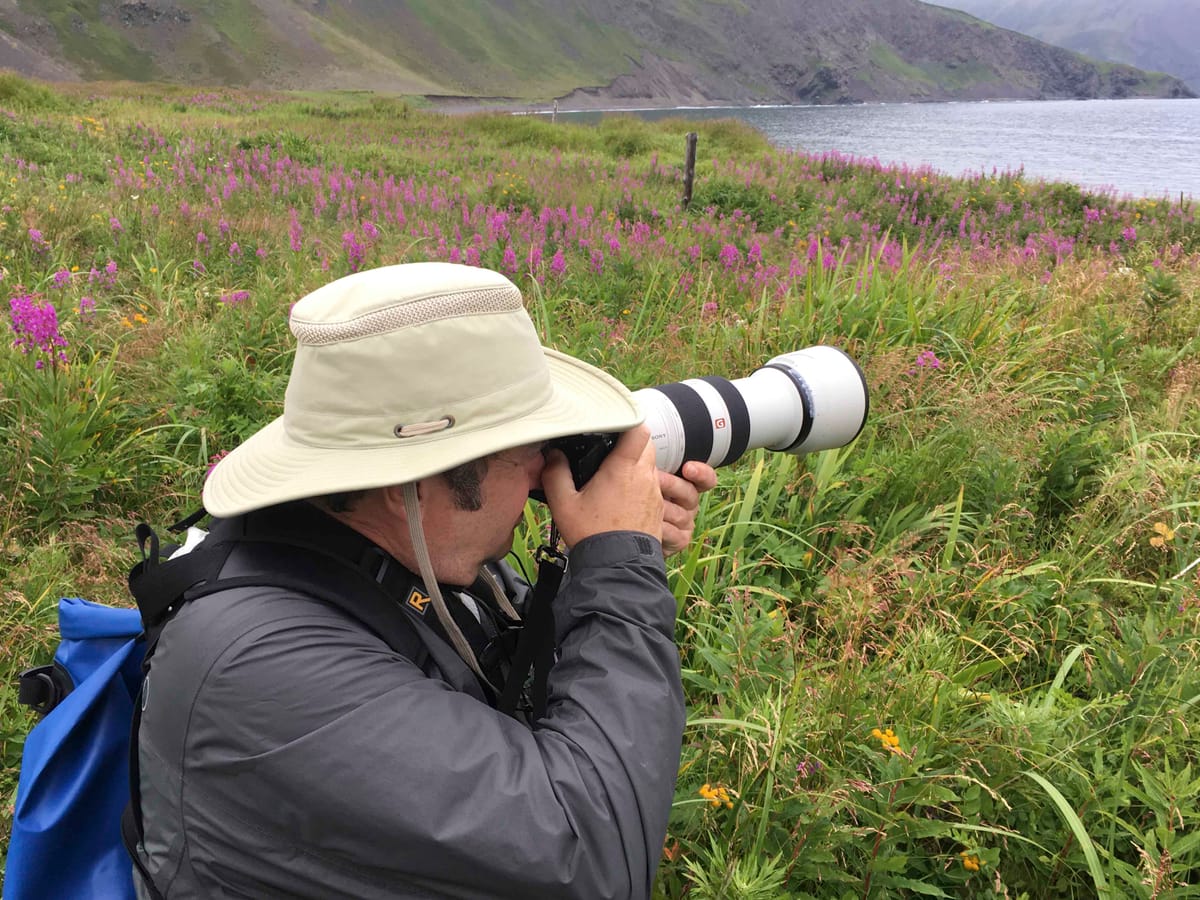
So you want to do adventure travel and you want to take good pictures.
Steps of my photographic development:
Step 0: Use an Android or an iPhone. This will save you a lot of money and insanity. These cameras also make phone calls.
Step 1: Buy a mirroless Canon, or Sony, and use P; or professional mode. OK that's a joke, P is fully programmable and you're letting the camera make all the decisions. For making landscape photography or photographing people of scenes this makes reasonable decisions up to a point. Then you decide to buy the big lens and then a come upon an eagle in the early morning sitting on a branch that takes flight. You get a maybe few reasonable pictures and a lot of bad pictures. Now you're frustrated and ready for the next step.
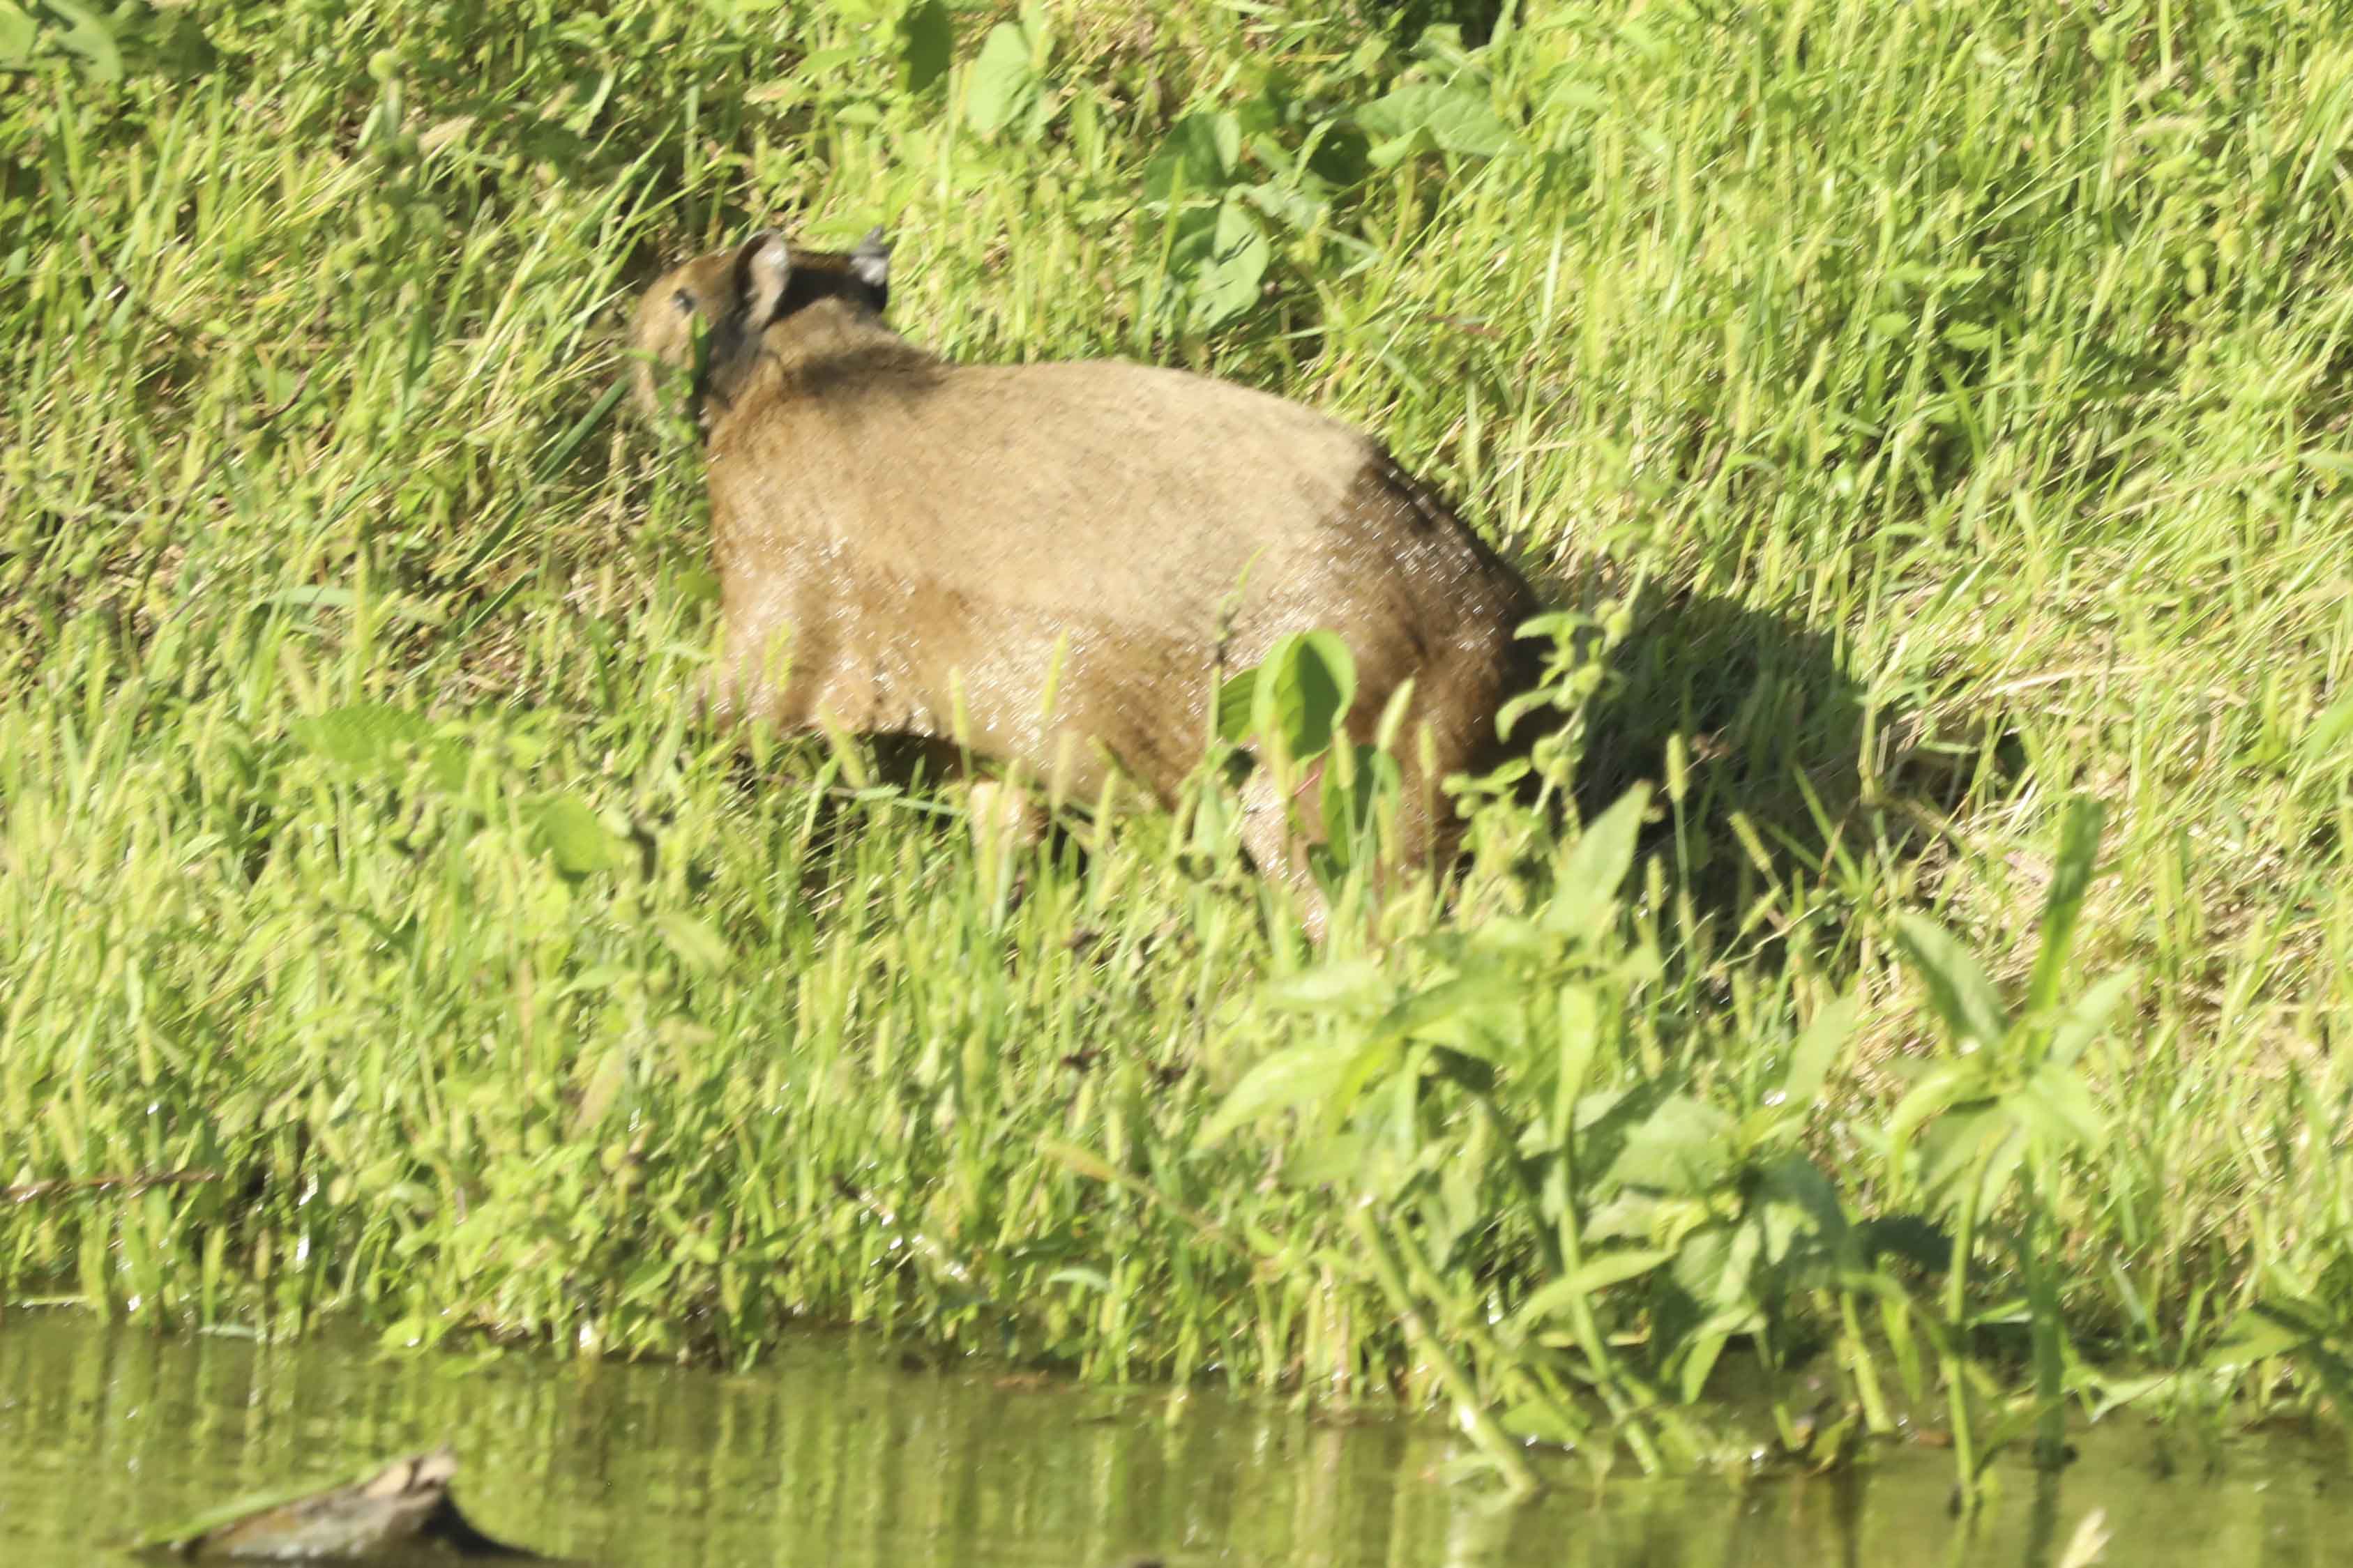
Step 2: You listen to the Photo expert on your trip and he or she tells you to move from P mode to aperture priority. Photo experts love this mode of photography because it controls how much of the background of your picture is in focus. So you really don't want a bird in flight to have a background completely in focus, because it would distract the viewer from the bird. There is a fatal flaw that the photo expert forgot to tell you: when you use a long telephoto lens and you're shooting a bird in flight the picture will only be sharp if your subject is in focus (a challenge), and your shutter speed is fast enough to "freeze"; the action in place. For a bird in flight with a 400mm lens this is usually about 1/1500 of a second. If your using a shorter lens like 70mm probably 1/800 of a second. To achieve speeds like this you need to have a very small aperture to maximize the light like f5.6, which is around the smallest aperture of a 100-400mm lens. The lesson of stage 2 is to shoot in Speed Priority and let the camera decide your aperture and ISO. Birds in flight with wing stop between 1/1000 to 1/2000 of a second. Moving bears about 1/500th of a second. At a minimum your speed should be 1 to 1.5 times the length of your lens, so at 400mm lens that means 1/400 to 1/600 of a second to avoid camera blur (that's when you shake the camera when taking a picture). This took me a WHILE and some classes to figure out.
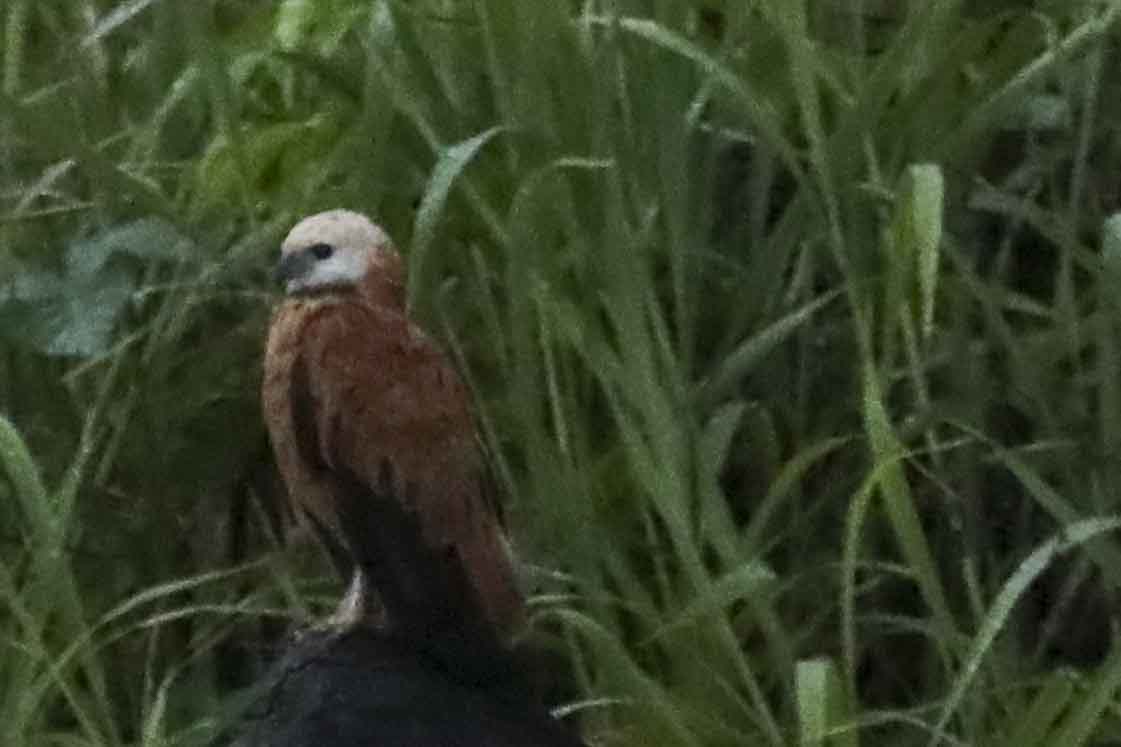
Step 3: Stop composing your wildlife shots in the viewfinder. LOL. Film photographers have always been taught to put the subject off to the side, etc., in today's digital universe that can easily be done in postproduction. Get the damned bird in focus is the first problem, where the in focus bird will sit in the final photograph can only happen if you actually have the bird in focus. Start shooting wildlife with the animal dead center of your viewfinder, and put your camera in continuous autofocus. Wildlife is unpredictable so pulse the shutter in continuous shooting, or just hold the damned button down. So when you come to the scene with the adult eagle in the nest with two fledglings, yes you might shoot 500 images of those birds, but you might only have one where all three are looking at you. That might be the photo of the trip! This now leads to a new problem: How to quickly evaluate your images. For wildlife, when I'm reviewing my pictures I look for an eye: eyes are compelling. No one wants to see a bird butt, even a magnificent one. Also, when you shoot your subject in the center, you can later re-crop with Adobe lightroom and create art. Lightroom is for Art, done in postproduction, viewfinders are for getting the wildlife in focus.
![]()
 Step 4: If it’s small in the viewfinder, it’s not going to get magically larger! This is the point at which you learn to not press the shutter, or at least not hold the shutter down. It you can hardly see the bird in a viewfinder,it will make a crappy picture no matter how many pixels your mirrorless Sony camera is (I'm looking at you Sony A7RV and 62 Megapixels). It's taken me a while, but learning to not take bad pictures is easier than deleting tons of crufty pictures.
Step 5: Animal eyes are compelling, bird butts are not. When deciding to keep a photo, I now have a general rule: no eye, no photo. Also, if your using lightroom, click on the eye (which zooms to the largest look at the eye), is it in focus or near focus? No? delete it.
Step 6: Want to take pictures of moving wildlife? Set your cameras auto focus to "continuous"; or in Canon parlance "AI Servo"; because of course Artificial Intelligence Servo just jumps out at the photographer and says the focusing will be refocused with every shot! By default the focus is single shot which works well for landscapes and portraits but ensure that wildlife photos will be mostly out of focus. There are two reasons why a photo is blurry or out of focus, motion blur and improper camera auto focus. Usually motion blur happens when the speed is slower than optimal, the other issue is what did your camera select as the thing in focus. You need to set the proper focus setting for the type of shooting your doing.
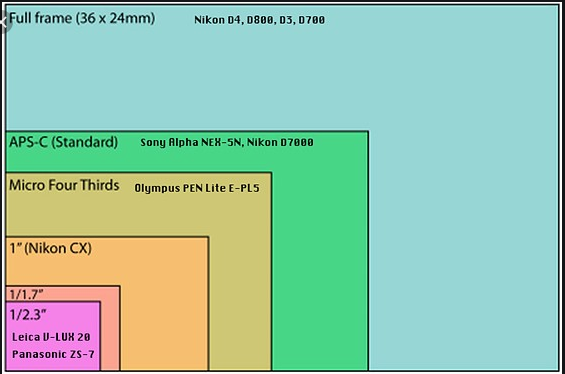 Step 7: Learn the difference between micro 4/3's frame, APS, and full frame cameras. When we were shooting with film for the last many, many years, cameras had a 36mm by 24mm size. When digital cameras were introduced the entry level and therefore cheapest bodies supported a sensor size of 22mm X 15mm. Think of that as your "negative" size. The larger the cameras frame (or digital sensor), the more light will reach the sensor and the lower the ISO and the better the picture in low light situations. Most people start with an APS camera, the next move after that should be well thought out. The Micro 3/4 cameras have a slightly smaller than APS sensor, the APS sensors vary by camera maker, the Canon has a 22X14mm sensor. I decided to move to full frame as a primary and keep my APC as a secondary camera as my first upgrade, now when I'm on adventure travel I bring two full frame camera bodies with interchangeable lenses. This is an expensive Step 🙁
Step 8: Who decides what the color of your photo should look like, you or your camera? There are two approaches to color fixing when you snap the shutter. The default of every camera is JPEG: when you snap the shutter, the camera will fix the color palette and produce a reasonable decision for what it thinks is an average picture. The other alternative is you save your image as the camera shot it as a set of ones and zeros in a larger file, is called a RAW image. Why in the world would you do this? The camera uses a grey scale, which is optimal for 60% of every picture shot. Once a JPEG is produced, the camera makes those decisions; if you use RAW you get to optimize each image, then you can make if moodier, make it brighter as you remember the image. You can tweak a JPEG but much of the information to make it better has been lost. You've entered a new reality and you need to rent Lightroom from Adobe and use it to process your images. Once you make a decision to use RAW, you'll need to commit to renting software, specifically, Photoshop and lightroom from Adobe: you need to keep these software items up to date, which means you need to pay the monthly fees. Why? Because you will at some point upgrade your camera body and a new version of RAW will appear and will be unreadable to old versions of Photoshop and lightroom.
Step 9: In a camera's normal operation when you press the shutter half way the camera focuses, then press all the way and the camera takes a photo. As you get more proficent, you should de-link the focus from the shutter. There is a button on the back of a Canon or Sony labeled 'AF' and you can deprogram the shutter to not do autofocus. This is called back button focus and I find it very useful. You can set the focal point of the camera to be dead center, find the object you want in focus and press the 'af'button then move the framing and take the picture.
Step 10: Since you're using speed priority and you're allowing ISO to float automatically, then put on your big boy pants and shoot in manual mode. What I never realized until recently is your lens is sharpest 2 F stops from fully open. So on a 100-400mm lens that's F/8. So if you're shooting birds in flight, start with a speed of 1/2000 and an f/8 and check you ISO settings, if your ISO is set to 15,000 your picture will suck! Start to compromise down, maybe 1/1000 and f/5.6 and then recheck ISO. If on the other hand, your ISO is 320 or less, shoot away!
Step 11: Set the default photo to mid range mutiple photos when shooting. Learn to pulse the shutter. Most DLSR's have a memory component which is reserved for taking a batch of photos, after that memory is exhausted the photos are written (slowly) to the SD or CF Card The Sony has around 60 pictures in it's memory buffer and the Canon has a similar strategy. You can take 5-10 pictures a second until this buffer is full, the it feels like 1/3 of a picture a second: Very Slow. The way to combat this is to pulse the shutter for 5-6 pictures then stop, then pulse again. This gives the camera a chance to try to catch up with you. If you're shooting a large stationary bird, the bird tends to give a sign it's about to fly, like rocking forwards, you can learn to hold off (after you've already taken lots of shots of a stationary bird), and then begin to shoot when it looks like it will take off. HAHA! You now have a new issue: Workflow! If you shoot 50 pictures a day then you can store them anywhere you'd like. If you start shooting 500+ pictures a day you need to have a workflow strategy!
Workflow
Workflow 1: Where are you keeping your photos when you shoot and what's your backup strategy while on adventure travel? First of all, let's start out with some basics: your camera does not have a robust operating system so deleting photos on your camera can easily lead to losing all the pictures on the memory card while shooting. Don't do it. On a typical morning or afternoon, I'll shoot between 500 and 2500 photos from a zodiac or on a hike a day. My cards hold 1400 to 2500 pictures combined (I'm currently useing 128gb high speed sd cards), so have enough cards for few days of shooting. I don't like to change cards in the field while shooting because that's precisely when the rare bird/wild animal will appear! Guaranteed! And I'll have no ability to photograph it while I fumble with all my gear. So that means, if I keep all my pictures on memory cards, I'll need two cards a day (minimum) for each day of the adventure. Sony's fast cards (tough) for 128GB costs about $208 a card (in 2024), so a 22 day trip would be too much money. I tried this strategy on an Alaska photo adventure and I ended up spending loads of time in small towns buying SD cards. My LATEST strategy is to empty my MacBook pro as best I can before the trip, then upload pictures after every ½ day. To make sure I don't lose any pictures I have a 4TB disk for backup (I use apple's time machine) A 4TB disk currently costs $280 at BHphotovideo. I also now carry a 4TB disk in my photo case which holds all my somewhat acceptable photos. I create a new lightroom library for each trip.
Workflow 2: How to assess photo's you've just taken. So you just shot 850 pictures, what's the process of dealing with them? My current workflow I use photomechanic from Camera Bits Inc. I resisted using this software for the last 7 years and have finally succumbed. LOL. When you shoot RAW, it's usually a large image and in Photoshop there is a two step process that shows you a blurry image and 10-20 seconds later shows you the correct image, for each picture. I plug in a 4tb usbc drive into my Mac and load the SD card into the Mac, then set photomachanic to 'ingest' new photos onto the 4TB drive. On the ingest menu, add copywrights and author info for each picture. The workflow I learned from Susan Seubert from National Geographic was to use photomechanic to quickly evaluate each photo, you're looking for something in focus or VERY close to focused (more on that later). You use the T key when you see a photo that's a saving candidate. Eliminate all crappy photos, when you find a few good photos of the animal etc stop tagging until you find a new compelling posture. Once you've made it through, then select the tagged photos only, select all of them and drag them into the lightroom icon. Make sure lightroom is set to 'COPY' and import the photos. Go back into photomechanic and select all the untagged photos and send them to the trash.
Workflow 3: Now back in Lightroom, select all the imported photos and change the color to 'auto', this is a great starting place. Now look at each photo and if you saved 6 look alike pics of the same bird, look carefully pick the one that's clearest, best focused and then crop the pic, if your happy then toss the other 5. Systematically go through all the imports tossing those that are extra. At this point if your happy with all the pics, in the library mode, goto the library tab and rename the photos use "YYYYMMDD-(your initials)-(abrevated location)-" and tag on sequence number. Trust me, most cameras create a 4 or 5 digit number which is often reused by default, can cause real headaches. I typically will start with 800 pictures at the beginning and often keep 8 at the end.
Workflow 4: Fixing high ISO, almost in focus pictures, and overly cropped pictures. In the last few years, Topaz Labs Photo Ai has become a critical part of my workflow. The product cleans up HIGH ISO photos which look VERY grainy when you look at themm in detail, the denoise functions works quickly and will take your breath away. For small pictures the 'upscale' function will take a crappy small picture and make it look beautiful and for slightly our of focus pictures, the sharpen function will clean up almost every picture. For Lightroom classis uses, you can add the tool to the photo tab using 'edit in' and have an entry for photo AI. In lightroom classic it makes a copy with and EDIT addition to the name and in photo AI you overwrite the EDIT file.
Step 12: It took me a while to adequately use Sony's tracking. I have fat fingers that occaionally hit the wrong buttons, while taking photos. Sony has a few frustrating issues for the fat fingered, the 'AF' back button focus is located on top if the joystick. If you set ANYTHING but center focus and use it for tracking, the minute you whack the joystick, your focal point wanders to somerwhere weird. Using center point tracking on sony disables the trackpad and to date, sony hasn't allow photographers to disable the trackpad in any of its 700 menu items. So my default sony settings are search for eyes in Animals/Bird and track with center focus. If you are close enough to a bird it will focus on one or both eyes.
Step 13: Un-program the buttons on the back of the camera that give you trouble. For me with my Sony, my thumb kept hitting the ISO button on a wheel, which flicked my camera from AUTO ISO to ISO 50 or ISO 32000 both of which were confusing because my eye was on the viewfinder and suddenly the view (and photographs) went all white or all black. On my old Canon I was able to use my thumb to change the camera to black and white mode while shooting Cayman in the Amazon.  It was night and I didn't notice, since I was at the time shooting in JPEG and not RAW, I now have the proud collection of 200 black and white Cayman, none of which actually look like I wanted. Disabling the specific buttons that cause trouble can solve these issues, and yes you're going to have to wade into your camera manual to do this!
Steps I'm not yet at:
Step 14: Do I need lighter gear? Change from full frame to micro 4/3's? Right now my Camera bag weights 35 pounds of gear, as I age at some point I'll not be able to put it in the overhead compartment of a plane without assistance. That will be time to sell all my gear and buy something like the OM (used to be Olympus) Micro 3/4 camera and lenses.
Step 15: Wait, has the iPhone camera caught up yet? Do I really need all this gear?